Tesla ownership · Paint and refinishing
Does Your Tesla Need Paint Repair or a Full Repaint?
A small scrape does not always need a full repaint. Understand the repair options, colour matching and finishing stages before choosing how much work your Tesla needs.

A scrape on one door can leave you wondering whether your Tesla needs a small paint repair, a whole panel respray or much more work. The right choice starts with what has actually failed. Sound paint with light surface marks may need correction. Missing colour, peeling clear coat or a repaired panel may need refinishing. A full repaint is a separate decision, usually involving widespread coating problems or a deliberate change of appearance.
Tesla painting involves more than choosing the nearest colour and spraying over the mark. Preparation, the paint system, blending, curing and reassembly all affect the result. Knowing what each stage involves helps you understand a quotation, protect good original paint and decide whether the proposed repair suits the damage.
Does your Tesla need painting or paint correction?
Paint correction removes a controlled amount of the existing finish to reduce suitable surface defects. Painting adds a new coating system where restoration of the old surface is insufficient. The two processes can produce a similar improvement from a distance, but they solve different problems.
| What you notice | Possible approach | What needs checking |
|---|---|---|
| Fine swirls visible under a light | Careful paint correction | Whether enough sound clear coat remains |
| A small isolated chip | Local touch-up may make it less noticeable | The exposed material and your expectations for the finish |
| Missing colour across a scrape | Local preparation followed by suitable refinishing | Damage depth, panel shape and blend area |
| Peeling or lifting coating | Removal of unsound material and refinishing | How far poor adhesion extends beyond the visible edge |
| A dent with intact paint | Paintless dent repair may be possible | Access, metal condition and the shape of the dent |
Swipe to read the full table.
A fingernail catching in a scratch is only a rough observation. It does not measure the remaining coating or prove that a particular sanding method is safe. Equally, a pale streak might be transferred material rather than missing paint. Have the area cleaned and inspected before agreeing to sanding or repainting.
Consider your actual goal. Making a tiny chip less conspicuous on a daily driver is different from restoring a broad panel to an even finish. A touch-up can be worthwhile without becoming invisible under close inspection. Clear expectations prevent a small, acceptable repair from turning into unnecessary repainting.
Spot repair, panel respray or full repaint?
Why a small scratch may need a larger painted area
The damaged area, the colour application area and the clear coat area can be different sizes. A technician may prepare a small scrape, blend colour over a wider area and clear the whole panel. That does not automatically mean the whole panel was damaged.
Tesla’s collision repair guidance distinguishes colour blending from clear coat blending. The colour can be blended as needed, while clear coat should cover the complete panel or an appropriate break point. A fading clear coat edge in the middle of an exposed panel is therefore not the same process as a properly planned colour blend.
When one panel needs repainting
A damaged door, bonnet or bumper can often be treated as a defined repair area. Adjacent panels may need colour blending, but that decision follows the finish and position of the repair. A mark on one side of the car does not justify repainting the opposite side.
Plastic bumpers and metal panels also need different preparation choices. The underlying material, previous coatings and flexibility matter. Model names alone do not identify every panel material, and a Tesla body is not one uniform metal surface.
When a full repaint makes sense
A complete repaint may be considered when coating failure is widespread, several previous repairs have left inconsistent finishes, or the owner wants another colour. It involves far more edges, openings and removable parts than a single panel job. If most of the original paint is in good condition, discuss whether repairing only the damaged panels would achieve the finish you want.
For a colour change, distinguish visible exterior panels from door openings and other painted returns. Otherwise the old colour may remain obvious whenever a door or bonnet opens. Decide the extent before work begins, because expanding it partway through changes the labour and materials involved.
Changing your Tesla’s colour in Dubai
For licensed vehicles, RTA directs owners to obtain a colour-change permit through Dubai Police. Confirm the current process for your vehicle before arranging a new colour, and keep the approval with the repaint paperwork. Include this step in the plan before the painting begins.
Why the paint code is only the starting point
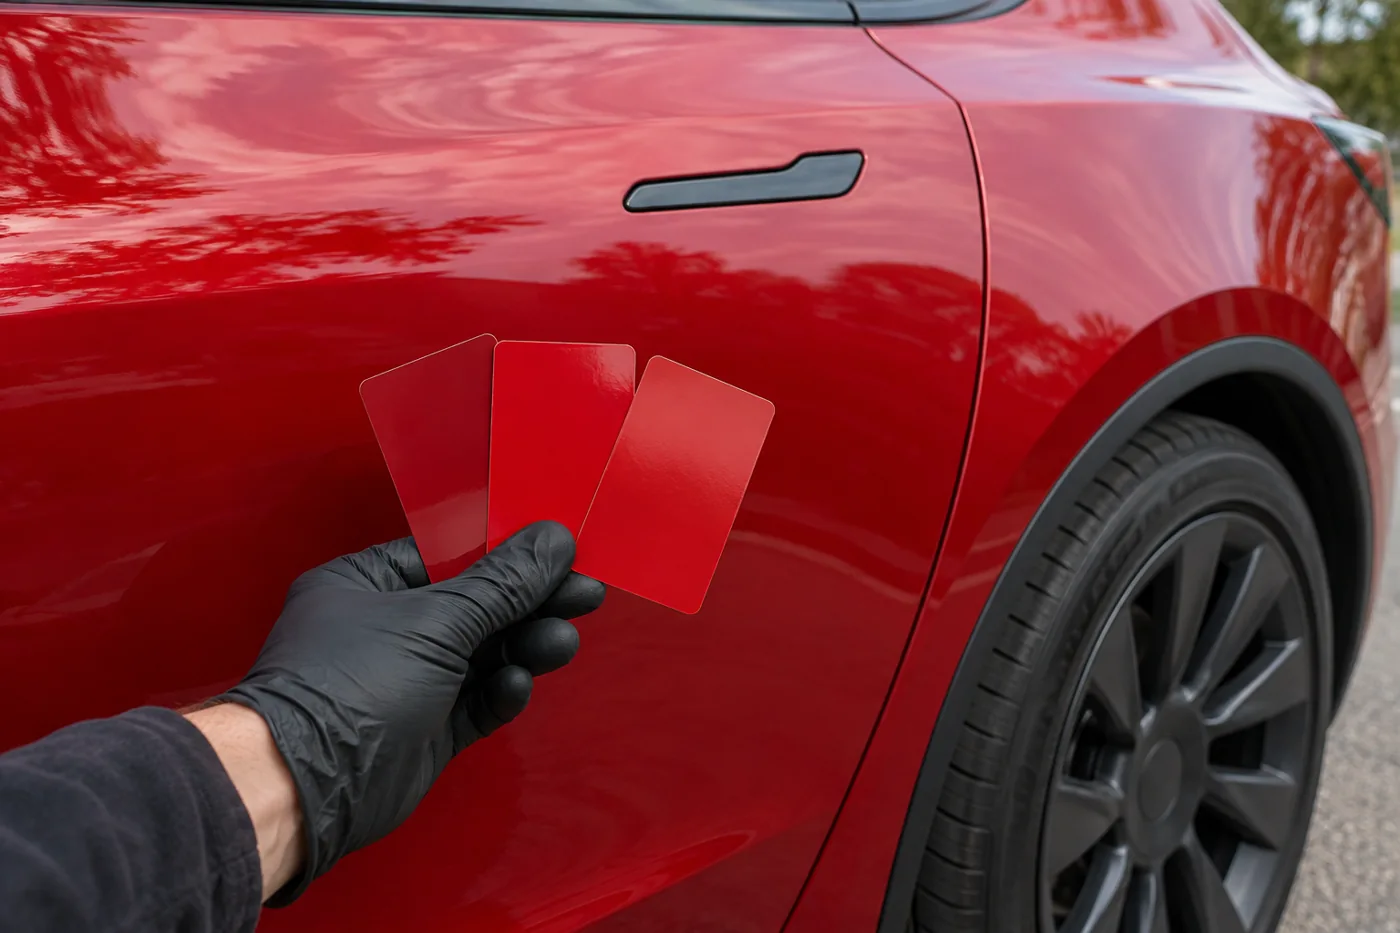
The factory code identifies the intended colour family. It does not account for every difference in an existing surface. Previous repairs, weathering, the substrate and the way metallic or pearl particles reflect light can all affect how adjoining areas look.
The painter compares the chosen colour formula with clean paint near the repair. Refinish manufacturer PPG recommends checking variants and using a spray-out card when needed. That test sample lets the painter assess a real applied finish before applying it to the car.
- Colour tone: A repair may appear slightly warmer, cooler, darker or lighter than the surrounding panel.
- Effect particles: Metallic and pearl finishes can look different when viewed straight on and from an angle.
- Surface texture: Reflections reveal whether a newly painted area has a noticeably different texture or gloss.
Think of a pearl white door beside a pearl white front wing. Both can carry the same colour name while looking different in afternoon sunlight. Comparing only the name on a paint tin would miss the issue. Viewing a sample beside the actual car is more informative.
Computer colour tools can help select a formula, but they do not make preparation or application irrelevant. An exact-match guarantee made before examining the vehicle leaves out too much of the process. The painter still needs to check the sample against the car in different lighting and decide where the colour should blend into the surrounding finish.
What happens during a Tesla paint repair?
Inspecting and preparing the damaged panel
The surface is assessed for contamination, old repairs, coating failure and damage beneath the paint. A thickness reading can be helpful on a suitable substrate, but it needs interpretation. Different materials and previous repairs can produce different readings, so one number is not a complete history of the panel.
Fresh colour will not stop damaged paint underneath from peeling or lifting. The preparation stage addresses the affected layers and the underlying repair before the finishing materials go on. Rushing this stage can leave visible edges, texture or adhesion problems that polishing will not solve.
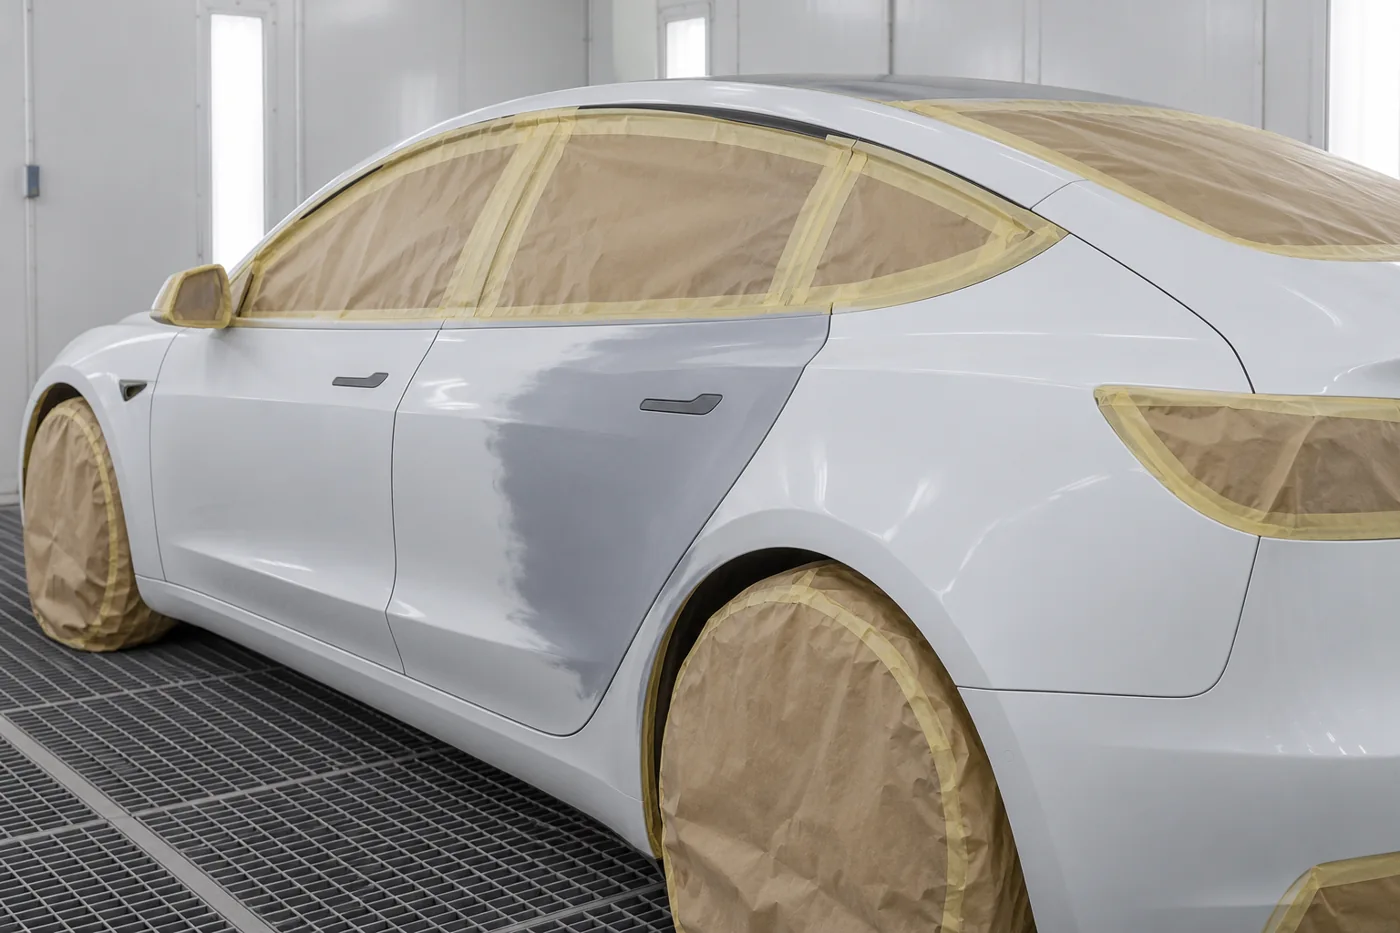
Removing trim and protecting nearby surfaces
Some parts may need removal to reach panel edges properly. Others can be protected through careful masking. The correct approach depends on access and the repair procedure, rather than a promise that every job can be done without dismantling anything.
Rubber seals, glass, lamps, trim and camera areas need protection. Paint should not bridge across a joint that must move or leave a hard visible line against a seal. Photographs of the car before work help identify existing marks and clarify which pieces were removed.
Applying primer, colour and clear coat
Where the selected system requires it, primer prepares and supports the repaired surface. The colour layer establishes appearance. Clear coat provides the finished outer surface. These materials must work together as a compatible system, with application and drying stages suited to the products.
Adding extra coats is not automatically an improvement. Excessive build can create its own problems, while insufficient preparation cannot be corrected by burying it under colour. Each layer needs the correct preparation, thickness and drying time for the products being used.
Drying the paint and refitting parts
Paint that feels dry is not necessarily ready for every type of cleaning, polishing or film installation. Cure requirements depend on the material and drying process. Tesla also sets vehicle-specific conditions for paint booth heating, so a generic bake cycle should not be assumed suitable for every car.
After refinishing, removed components need correct refitting and relevant function checks. A painted bumper that sits poorly or a seal that no longer fits properly is an unfinished repair, even if the colour looks good. Any additional checks depend on what was damaged or disturbed.
Painting around cameras, sensors and existing protection
Tesla equipment differs by model, build date and market. Some vehicles have ultrasonic parking sensors and others do not. Camera arrangements also vary. A repair plan should identify the actual equipment instead of treating every bumper as identical.
A cosmetic paint job does not automatically require every driver assistance system to be calibrated. Equally, calibration should not be dismissed if a repair changes a relevant component or mounting position. The vehicle procedure and the work performed determine what is needed.
- Paint protection film: Film crossing the repair area may need removal and later replacement. Where the film ends helps determine how much needs replacing.
- Existing coatings: Surface treatments need to be accounted for during preparation and when planning later protection.
- Replacement trim: Damaged clips, seals or one-use fixings can affect reassembly even when the visible repair is small.
These details explain why a photograph of the scratch alone may not describe the whole job. Include a wider view showing the panel boundaries and nearby equipment. Photographs can help with an initial discussion, although the painter may need to inspect the car to confirm the damage beneath the surface.
How long does painting take and what affects the cost?
The main variables are the number of affected panels, preparation depth, paint system, blending and access. A small-looking repair can take longer when old coating must be removed or a complex finish needs careful matching. A larger uncomplicated surface can sometimes involve fewer separate operations.
Calendar time also includes waiting between stages, parts availability and any additional work found during preparation. Drying cannot always be compressed simply by adding another technician. For indicative budgets and how individual paint jobs compare, see the separate Tesla paint repair cost guide.
Check what each quotation includes. A price for applying colour over an existing surface is different from a price that includes removing failed coatings, repairing the substrate, removing trim and renewing protection. The lowest number is difficult to interpret until those differences are visible.
Keep elective work separate from necessary repair. Repainting several undamaged panels to change the car’s appearance is an owner preference. Repairing peeling paint deals with an existing problem. Separating the two makes it easier to choose a budget without losing sight of the original problem.
How to look over the finished paint
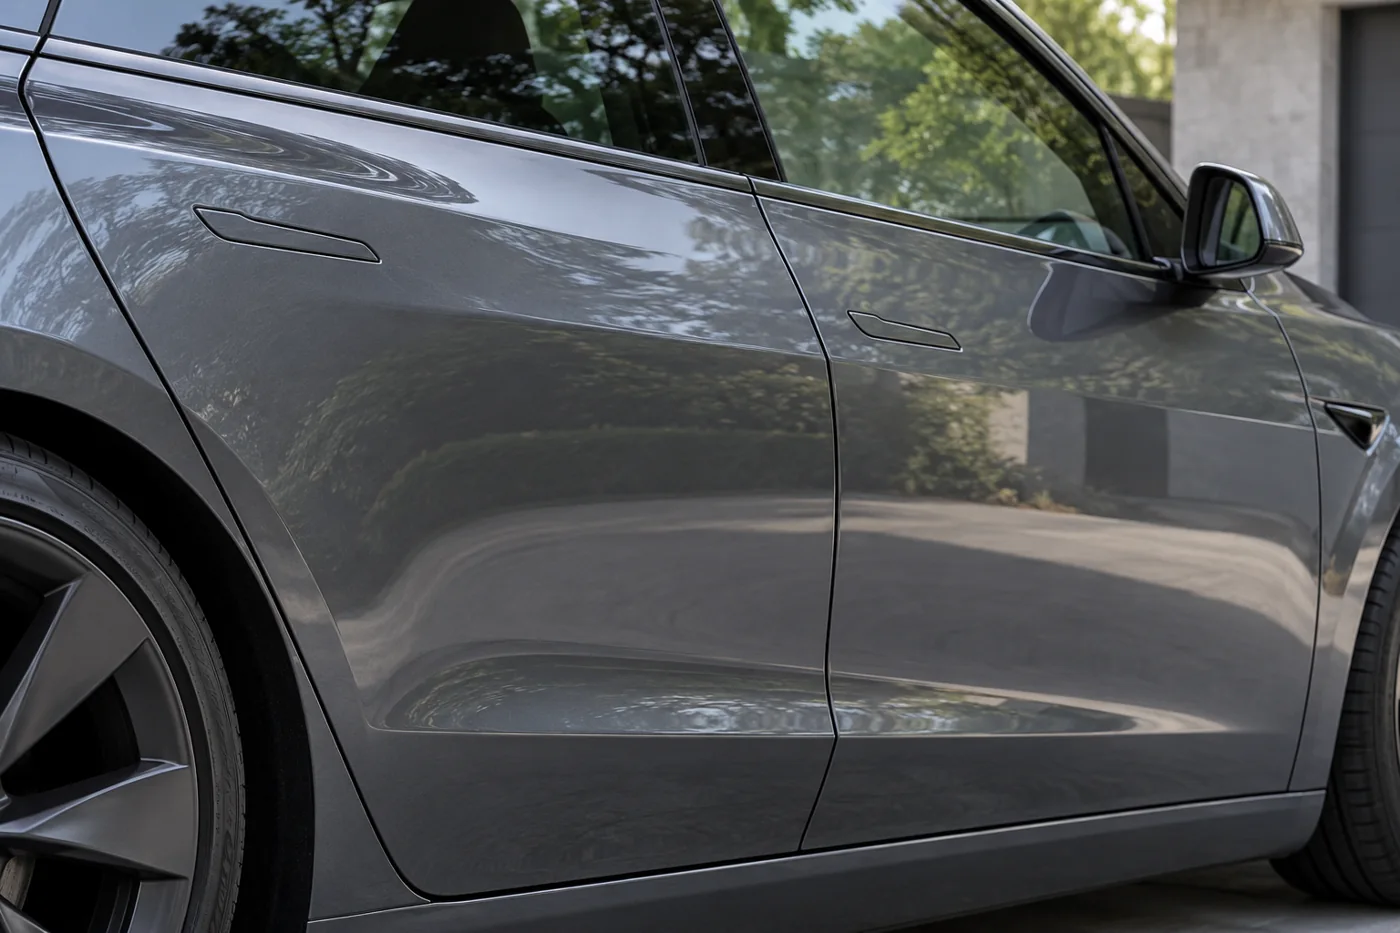
Inspect the car clean and dry, with enough space to step back. Start with the whole repaired side, then move closer. Looking only at a tiny area under a bright lamp can miss a broad colour difference, while viewing only from a distance can hide a rough edge.
- Compare adjoining areas: View colour and effect from several angles in daylight and under workshop lighting.
- Follow the reflections: Look along the panel for obvious waves, sanding traces, unusual texture or isolated defects.
- Check the boundaries: Look around seals, handles, panel gaps and trim for unwanted paint or uneven edges.
- Use the openings: Where relevant, check that doors and other disturbed parts open, close and fit as expected.
At collection, compare the finished car with what you agreed before the repair. Check that all listed panels have been completed and that any trim removed for painting has been refitted properly. Raise a concern while everyone can examine the same area, rather than relying on photographs taken later under different lighting.
Keep the repair record with the vehicle’s history. A documented panel repaint explains more to a future buyer than an unexplained thickness difference. Keep any before-and-after photographs alongside the invoice so the reason for repainting is easy to explain.
Caring for fresh paint in Dubai
Follow the refinisher’s instructions for the actual products used, especially before polishing, waxing, applying ceramic coating or installing film. There is no single waiting period that suits every paint system and curing method.
Once normal washing is permitted, rinse loose grit away before touching the surface. Use suitable gentle cleaning materials and avoid rubbing a dusty panel with a dry cloth. Remove bird droppings and other contamination promptly using a method appropriate for the fresh finish.
Protection products are a separate choice after the repair has cured sufficiently. Film can provide a sacrificial surface in exposed areas, while coatings can make routine care easier. Neither repairs poor paint preparation or makes the car immune to stone chips, scratches and neglect.
Questions about Tesla painting
Can you paint just one Tesla panel?
Often, yes. The damaged panel can be the main repair area, although nearby colour blending may be appropriate. The finish, damage position and condition of surrounding paint determine how much of the surrounding area needs painting. One damaged panel does not automatically call for a full repaint.
Will a touch-up look the same as a respray?
Usually not at close range. A touch-up can cover a small exposed spot and reduce its contrast, but it may retain a visible edge or texture difference. A respray involves a wider finishing process and should be chosen for a different level of restoration.
Can peeling clear coat be polished away?
Polishing cannot restore adhesion between layers that are already separating. The extent of failed coating needs assessment before refinishing. Polishing may improve the shine briefly, but loose clear coat can continue to peel because the damaged layers are still there.
Does a colour change include the door openings?
Only if they are included in the agreed work. An exterior-only repaint can leave the previous colour visible in openings. Define those areas, removable parts and hidden returns before choosing between a colour change and restoring the existing finish.
Should a new ceramic coating be applied immediately?
The fresh paint needs to reach the stage required by the refinishing and protection product instructions. Obtain a specific aftercare timetable for the materials used. Ask when the repaired panel can be washed, polished and coated so you can plan its care after collection.
Not sure how much of your Tesla needs repainting?
Tesla Repair Dubai can assess the affected panels and discuss appropriate Tesla paint repair options. Share your model, the affected area and whether your goal is damage repair or a change of finish.